Memorial Day Vacation Rental Cleaning | Marathon FL Housekeeping Tips

Memorial Day is more than just a long weekend—it’s a time to honor fallen heroes and gather with loved ones. Whether you’re hosting a backyard barbecue, welcoming guests, or simply enjoying a peaceful day at home, a clean and organized space sets the perfect tone. In this guide, we’ll share essential Memorial Day housekeeping tips to help you prepare for a stress-free and enjoyable holiday. 1. Declutter Before Memorial Day Weekend Before you start decorating or deep cleaning, decluttering is the first step. A tidy home not only looks great but also makes cleaning much easier. How to Declutter Efficiently: Start with high-traffic areas – Focus on the living room, kitchen, and outdoor spaces where guests will gather. Sort items into categories – Keep, donate, and discard to minimize clutter. Tidy up outdoor areas – Clean patios, decks, and porches for a welcoming space. 💡 Pro Tip: Donate gently used items to Goodwill or The Salvation Army to support a good cause! 2. Deep Clean Your Home for Memorial Day A thorough cleaning ensures your home is fresh and ready for the holiday. Pay attention to areas that may have been neglected during daily cleaning routines. Key Areas to Focus On: ✅ Living Room: Dust surfaces, vacuum carpets, and clean windows for a bright, airy feel. ✅ Kitchen: Wipe down counters, clean appliances, and empty the fridge to make space for party food. ✅ Bathrooms: Scrub sinks, toilets, and mirrors to keep guest areas fresh. ✅ Outdoor Spaces: Sweep decks, wipe down patio furniture, and remove cobwebs from outdoor corners. 🌿 Eco-Friendly Cleaning Tip: Use natural cleaning solutions like vinegar and baking soda for a fresh, chemical-free clean. 3. Memorial Day Decorations: A Housekeeper’s Guide Festive decorations add a patriotic touch to your home. Keep it simple yet stylish with red, white, and blue accents. Easy Memorial Day Decor Ideas: 🎈 Flags & Banners: Hang small American flags in your yard or patio. 🌺 Floral Centerpieces: Arrange red, white, and blue flowers for a festive table display. 🕯️ Candles & Lanterns: Use decorative lanterns to create a cozy evening ambiance. For more inspiration, check out DIY Memorial Day Decoration Ideas for budget-friendly and creative decor tips! 4. Preparing Guest Areas for Memorial Day Gatherings If you’re hosting friends or family, ensure guest spaces are welcoming and comfortable. Checklist for a Guest-Ready Home: 🛏️ Guest Bedrooms: Fresh linens, extra pillows, and a clean nightstand. 🚽 Bathrooms: Stocked with hand towels, soap, and toilet paper. 🍽️ Dining Area: Set up plates, napkins, and utensils for easy serving. 💡 Hospitality Tip: Add a small welcome basket with snacks and toiletries for overnight guests. 5. Memorial Day BBQ & Kitchen Cleanup Tips A Memorial Day gathering often includes a backyard barbecue. Keep your kitchen and grill area clean before and after the party. Pre-BBQ Cleaning: ✔️ Wipe down grill grates and cooking surfaces. ✔️ Sanitize countertops and food prep areas. ✔️ Stock up on disposable plates and utensils for easy cleanup. Post-BBQ Cleanup: ✔️ Soak grill grates in warm, soapy water for easy scrubbing. ✔️ Take out the trash and wipe down outdoor tables. ✔️ Store leftovers properly to avoid food waste. 🔥 Bonus Tip: Clean your grill with half a lemon and salt for a natural degreaser! 6. Quick Cleaning Hacks for a Stress-Free Memorial Day Hosting can be hectic, but these quick cleaning hacks will help you stay on top of the mess. Speed Cleaning Tips: 🕑 Set a Timer: Clean in short 15-minute bursts to avoid overwhelm. 🧺 Use a Laundry Basket: Toss out-of-place items in a basket and return them later. 🧽 Multi-Task: Wipe surfaces while waiting for food to cook or laundry to finish. 👀 Want more cleaning tips? Check out Martha Stewart’s Cleaning Guide for expert advice! 7. Outdoor Cleaning and Yard Prep for Memorial Day If you’re hosting outdoors, make sure your yard is guest-ready. Outdoor Cleaning Checklist: ✅ Mow the lawn and trim hedges. ✅ Sweep patios and walkways. ✅ Clean outdoor furniture with a damp cloth. ✅ Set up umbrellas or tents for shade. 🌿 Garden Tip: Add fresh potted plants or flowers to enhance the outdoor space. 8. Memorial Day Weekend: Cleaning After the Festivities After a fun-filled weekend, a quick cleanup will help restore order in your home. Post-Holiday Cleanup Guide: 🧹 Vacuum and mop floors to remove dirt and crumbs. 🗑️ Take out trash and recycling promptly. 🛏️ Wash linens used by guests. 🌿 Refresh the air with scented candles or essential oils. 📌 Organization Tip: Store seasonal decorations in labeled bins for easy access next year. Enjoy a Clean and Happy Memorial Day! With these Memorial Day housekeeping tips, you can focus on celebrating with family and friends instead of stressing over cleaning. A little preparation goes a long way in making your home festive, inviting, and stress-free. How are you preparing your home for Memorial Day? Share your tips in the comments! 🇺🇸✨ 305-395-0588
Mastering Chip-Free Christmas Nails While Tackling Housekeeping
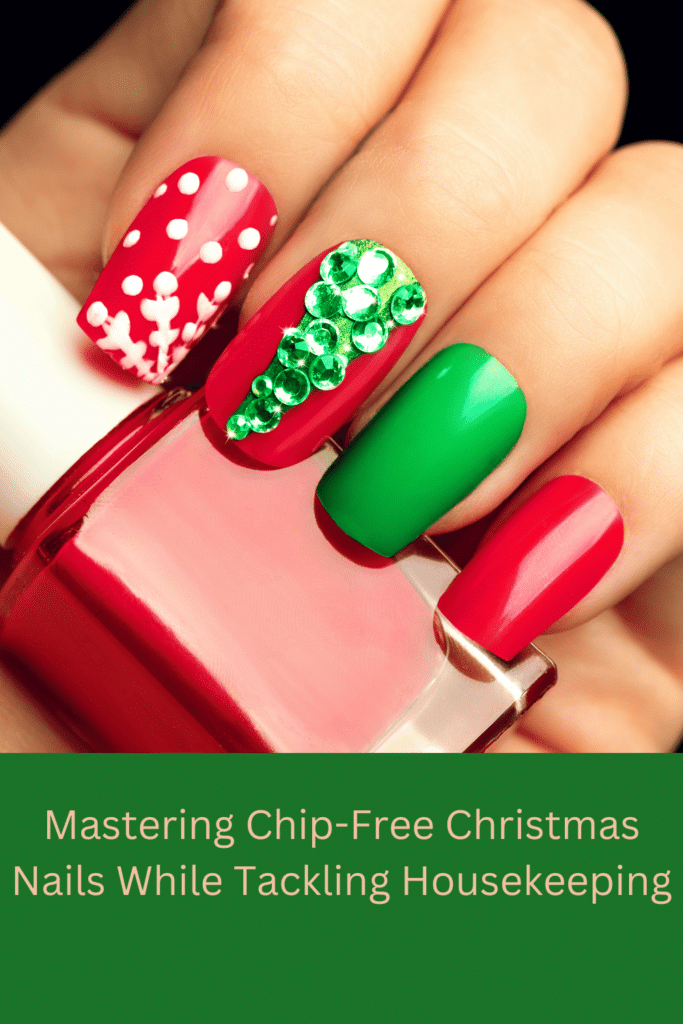
Keeping your Christmas nails looking flawless during a busy day of housekeeping is all about efficient strategies and a touch of creativity. Here’s how to make sure your festive manicure stays chip-free while you get the job done. Preparation is Key: Before diving into your housekeeping tasks, ensure your nails are already dry and well-set. Use a high-quality base coat to create a strong foundation for your nail polish. Choose Long-Lasting Nail Polish: Opt for gel or long-wear nail polish brands that are known for their chip-resistant formulas. Darker shades or metallics tend to hide chips better than light colors. Gloves are Your Friends: Invest in a good pair of cleaning gloves. They protect your nails from harsh chemicals and abrasions. Look for gloves with a comfortable fit, so you can work effectively. Strategic Task Planning: Organize your cleaning tasks to minimize contact between your nails and surfaces. Start with lighter tasks like dusting and progress to heavier cleaning, keeping your nails safe. Use Proper Cleaning Tools: Choose cleaning tools that require less force, such as microfiber cloths and dusters. Avoid using your nails as tools; they are not meant for scraping or prying. Breaks for Nail TLC: Schedule short breaks to inspect your nails. If you notice any chips, have a quick touch-up session. Quick Fixes: Keep a small nail repair kit handy. It should include nail polish, a top coat, and a nail file. Use it for on-the-spot repairs to maintain your manicure’s perfection. Finish with a Top Coat: Once your housekeeping tasks are complete, apply a high-quality top coat to seal the deal. This extra layer provides an added buffer against chips. Mindful Hand Movements: Be conscious of your hand movements while cleaning. Avoid banging or scraping your nails against hard surfaces. Regular Maintenance: After the holiday season, take some time to pamper your nails. Trim, shape, and nourish them for continued health and beauty. By following these steps, you can successfully juggle your housekeeping duties while maintaining chip-free Christmas nails. It’s all about a balance of smart planning, protective measures, and a touch of festive flair. Now, go out there and rock your flawless holiday manicure while keeping those homes spick and span! 🎄💅
How to Clean Your Dehumidifier: Easy Tips and Tricks
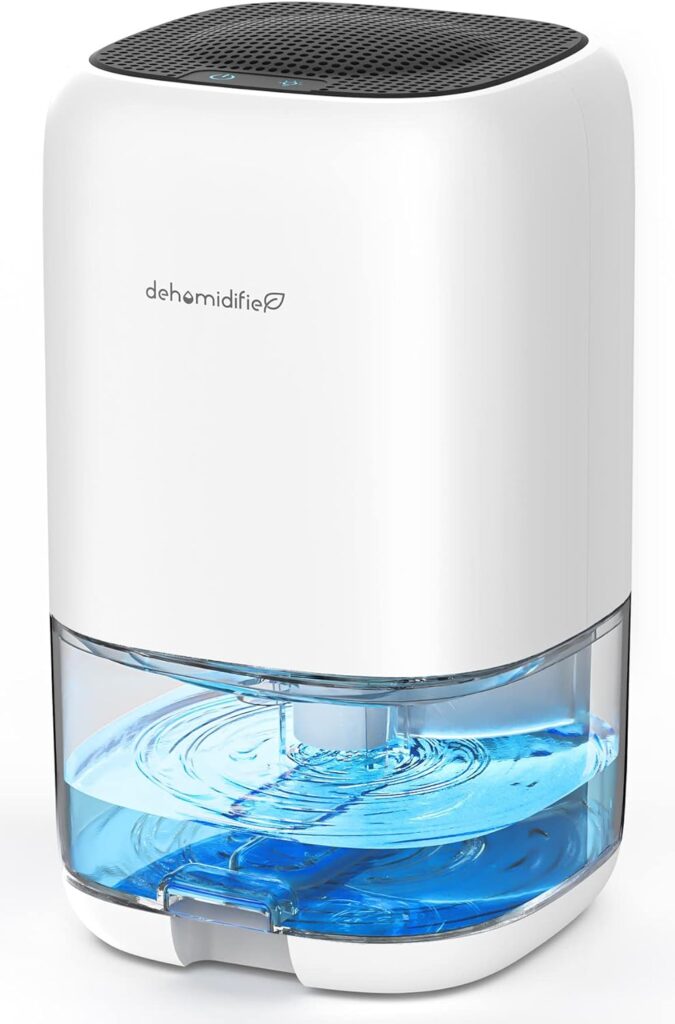
Hey there, dehumidifier owner! We all know that these handy devices do wonders for keeping our spaces comfortable, but they need a little TLC too. So, let’s dive into the nitty-gritty of how to clean your dehumidifier like a pro. Don’t worry; it’s easier than you might think! Step 1: Power Down and Unplug First things first, make sure your dehumidifier is powered off and safely unplugged. Safety first, right? Step 2: Remove the Water Tank Most dehumidifiers have a removable water tank. Take it out and set it aside. Step 3: Clean the Water Tank Time to give that tank some love. A mixture of warm water and mild detergent should do the trick. Give it a good scrub, rinse it thoroughly, and let it dry completely before reattaching it. Step 4: Check the Air Filter Your dehumidifier likely has an air filter. Pop it out and inspect it. If it’s reusable, clean it according to the manufacturer’s instructions. If it’s disposable, replace it with a new one. Step 5: Clean the Coils Behind the scenes, your dehumidifier has coils that can get a little gunked up. Gently brush away any dust or debris with a soft brush or a vacuum cleaner attachment. Step 6: Wipe Down the Exterior Don’t forget the exterior! Use a damp cloth to wipe away any dust or grime that might have accumulated on the surface. Step 7: Reassemble and Plug In Now that everything is sparkling clean, reassemble your dehumidifier, plug it back in, and power it on. It’s ready to get back to work, making your space feel just right. Pro Tips: Clean your dehumidifier every few weeks during heavy use. Check the manufacturer’s manual for specific cleaning instructions tailored to your model. If you notice any strange odors or decreased performance, it might be time for a deep clean. Please review: https://rebrand.ly/2erae2v And that’s a wrap! Cleaning your dehumidifier is a simple yet essential task to keep it running smoothly. So go ahead, show your trusty dehumidifier some love, and enjoy the benefits of a fresh, moisture-controlled space.
The Ultimate Guide: How to Clean Your Keurig Coffee Maker

The Ultimate Guide: Few things beat the convenience of a Keurig coffee maker when it comes to brewing your morning cup of joe. But to ensure that your Keurig consistently delivers that perfect cup, it’s crucial to keep it clean and well-maintained. In this comprehensive guide, we’ll walk you through the step-by-step process of cleaning your Keurig from top to bottom, making sure your coffee always tastes its best. The Ultimate Guide>Why Cleaning Your Keurig is Essential Before we dive into the cleaning process, let’s understand why cleaning your Keurig is so important. Over time, mineral deposits, coffee residue, and even mold can accumulate within the machine. This buildup can lead to several issues, including: Decreased Brewing Efficiency: A dirty Keurig can result in slower brewing times and weaker coffee, as the buildup restricts water flow. Unpleasant Taste: Residue and mold can alter the flavor of your coffee, making it taste bitter or off. Potential Health Concerns: Mold and bacteria growth in your Keurig can be harmful if not properly addressed. By regularly cleaning your Keurig, you’ll not only maintain the quality of your coffee but also extend the lifespan of your machine. The Ultimate Guide: Gather Your Cleaning Supplies Before we get started, let’s gather the cleaning supplies you’ll need: Materials: White vinegar Dish soap Warm water Soft, lint-free cloth A paperclip or a Keurig cleaning needle (if available) Fresh water Now that you have your supplies ready, let’s roll up our sleeves and get to work. Step 1: Unplug and Disassemble Safety first! Always unplug your Keurig coffee maker before you begin the cleaning process. Then, disassemble your Keurig by removing the drip tray, the water reservoir, and the K-Cup holder. These parts can be washed separately with warm, soapy water. Step 2: Clean the Removable Parts Start by washing the removable parts. Use warm, soapy water and a soft cloth to clean the drip tray, water reservoir, and K-Cup holder. Rinse them thoroughly and let them air dry. This simple step helps remove any coffee residue and keeps your machine looking clean. Step 3: Clean the Exterior Wipe down the exterior of your Keurig with a damp cloth. Pay attention to the buttons, handles, and the area around the coffee spout. For stubborn spots, a mixture of warm water and a drop of dish soap should do the trick. Rinse with a clean, damp cloth, and dry thoroughly. Step 4: Descale Your Keurig Descaling is a crucial step to remove mineral buildup inside your Keurig. To do this, follow these sub-steps: 4.1. Prepare the Descaling Solution Fill the water reservoir with a mixture of half white vinegar and half water. Ensure it’s enough to brew at least a few cups. 4.2. Brew and Discard the Solution Place a large mug on the drip tray and start a brewing cycle (without inserting a K-Cup). Brew until the reservoir is empty. This will help descale the internal components. 4.3. Repeat as Needed Depending on the severity of the mineral buildup, you may need to repeat the process with a fresh descaling solution until the vinegar smell dissipates. 4.4. Flush with Fresh Water After descaling, thoroughly rinse the water reservoir, then fill it with fresh water. Brew several cycles with plain water to flush out any remaining vinegar residue. Step 5: Clean the Keurig Needles The needles that puncture the K-Cups can become clogged with coffee grounds or mineral deposits. To clean them: Use a paperclip or a Keurig cleaning needle to carefully clean out the needle. Be gentle to avoid damage. Step 6: Clean the Drip Tray and Drip Tray Plate The drip tray and drip tray plate can accumulate coffee residue over time. Remove them and wash with warm, soapy water. Rinse and let them air dry before reassembling. Step 7: Reassemble and Test Now that you’ve thoroughly cleaned all the components, reassemble your Keurig. Replace the drip tray, water reservoir, and K-Cup holder. Ensure everything is properly seated. Step 8: Brew a Test Cup Before brewing your next cup of coffee, it’s a good idea to run a test cycle with just water. This helps ensure that there’s no residual cleaning solution or vinegar in your Keurig that could affect the taste of your coffee. Place a mug on the drip tray and brew a cycle with plain water (no K-Cup). Discard this water. Step 9: Enjoy Your Clean Coffee Maker Congratulations! Your Keurig coffee maker is now clean and ready to brew your favorite coffee. Enjoy that fresh, delicious cup of joe without any worries about unwanted residue or off flavors. To keep your Keurig in top-notch condition, consider these maintenance tips: Weekly Rinse: Run a cycle with just plain water once a week to prevent mineral buildup. Use Filtered Water: If possible, use filtered water in your Keurig to reduce mineral deposits. Empty the Reservoir: When not in use, empty the water reservoir to prevent standing water. Replace the Water Filter: If your Keurig has a water filter, replace it as recommended by the manufacturer. By following these cleaning and maintenance steps, you can ensure that your Keurig consistently delivers great-tasting coffee and stays in excellent working condition for years to come. Happy brewing! The Ultimate Guide
How to Start Cleaning a Bathroom from Scratch
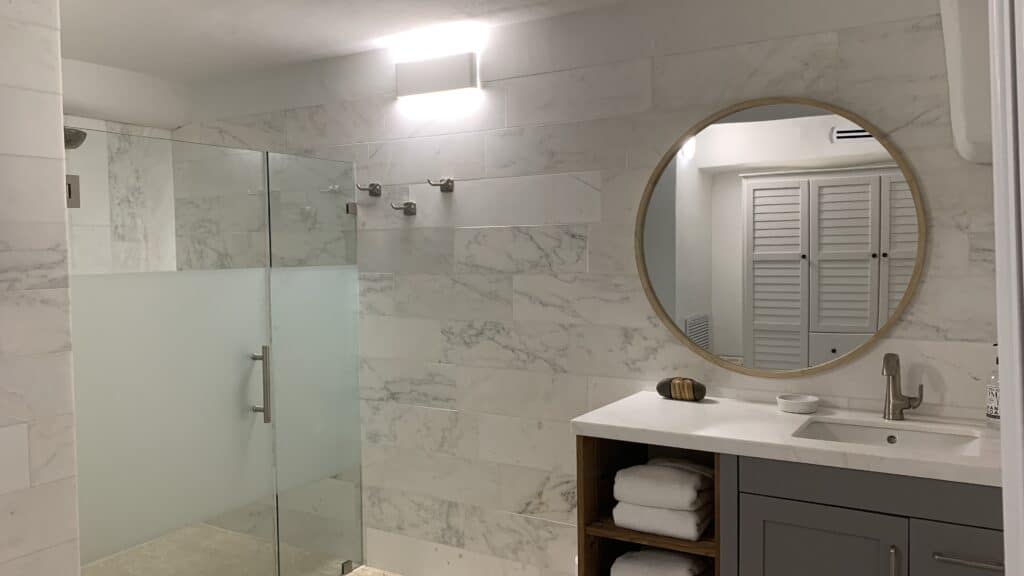
From battling soap scum monsters to conquering toilet bowl dragons, learn how to turn your bathroom into a sparkling kingdom!
House Cleaning: 10 Hilarious Hacks to Save Time and Sanity

Discover 10 humorous cleaning hacks to tackle household chores efficiently and with a smile. From sock slippers to lemon magic, these hacks make cleaning a creative adventure.