How to Clean Your Dehumidifier: Easy Tips and Tricks
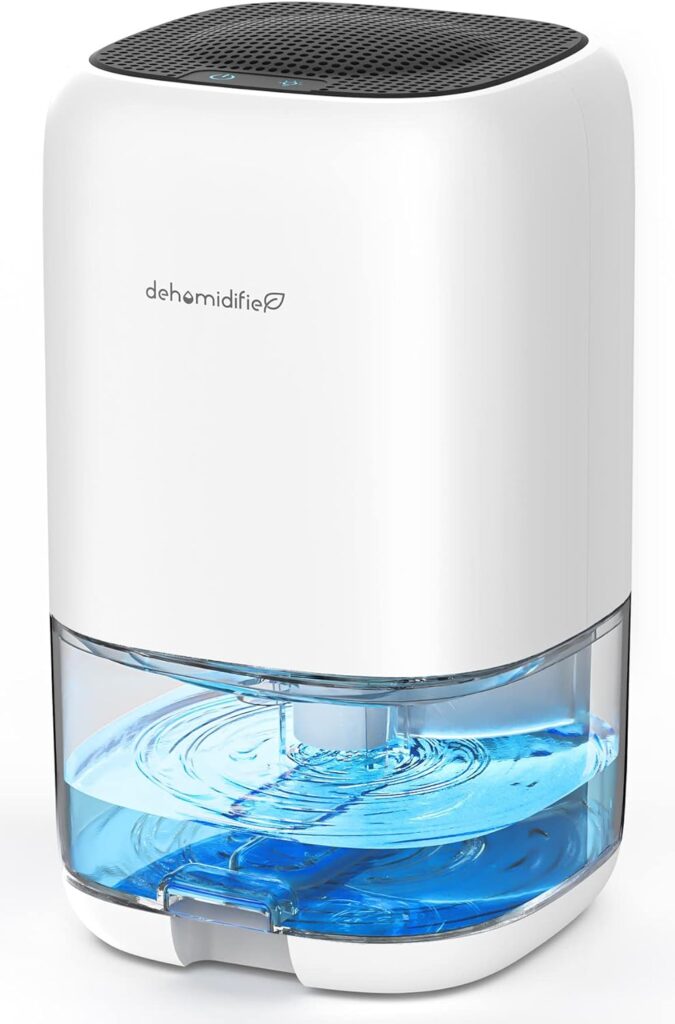
Hey there, dehumidifier owner! We all know that these handy devices do wonders for keeping our spaces comfortable, but they need a little TLC too. So, let’s dive into the nitty-gritty of how to clean your dehumidifier like a pro. Don’t worry; it’s easier than you might think! Step 1: Power Down and Unplug First things first, make sure your dehumidifier is powered off and safely unplugged. Safety first, right? Step 2: Remove the Water Tank Most dehumidifiers have a removable water tank. Take it out and set it aside. Step 3: Clean the Water Tank Time to give that tank some love. A mixture of warm water and mild detergent should do the trick. Give it a good scrub, rinse it thoroughly, and let it dry completely before reattaching it. Step 4: Check the Air Filter Your dehumidifier likely has an air filter. Pop it out and inspect it. If it’s reusable, clean it according to the manufacturer’s instructions. If it’s disposable, replace it with a new one. Step 5: Clean the Coils Behind the scenes, your dehumidifier has coils that can get a little gunked up. Gently brush away any dust or debris with a soft brush or a vacuum cleaner attachment. Step 6: Wipe Down the Exterior Don’t forget the exterior! Use a damp cloth to wipe away any dust or grime that might have accumulated on the surface. Step 7: Reassemble and Plug In Now that everything is sparkling clean, reassemble your dehumidifier, plug it back in, and power it on. It’s ready to get back to work, making your space feel just right. Pro Tips: Clean your dehumidifier every few weeks during heavy use. Check the manufacturer’s manual for specific cleaning instructions tailored to your model. If you notice any strange odors or decreased performance, it might be time for a deep clean. Please review: https://rebrand.ly/2erae2v And that’s a wrap! Cleaning your dehumidifier is a simple yet essential task to keep it running smoothly. So go ahead, show your trusty dehumidifier some love, and enjoy the benefits of a fresh, moisture-controlled space.
How to Easily Clean Your Washing Machine

Maintaining Your Washing Machine The Art of Washing Machine Maintenance Cleaning your washing machine is probably not something that crosses your mind often. You might assume it cleans itself with every laundry load. However, that’s not always the case. Over time, dirt and grime can accumulate in the drum and hoses, leading to unpleasant odors and even mold growth. In this post, we’ll demonstrate how simple it is to deep clean your washing machine using common household ingredients. Why It Matters Your washing machine is a vital appliance, ensuring clean and fresh clothes. Proper maintenance is key to its performance and longevity. Neglecting cleaning can result in issues like decreased efficiency, odors, and mold growth. Squeaky clean clothes start right here. Discover the magic of a well-maintained washing machine. 🧺✨ Easy Steps to Clean Your Washing Machine: 1. Unplug the machine from the power outlet. Transition: Before we dive into the cleaning process, the first step is to ensure safety by unplugging the machine. 2. Remove any leftover laundry. Transition: Clear the way for a thorough cleaning by removing any remaining laundry from the machine. 3. Consult your machine’s manual for specific cleaning instructions. Transition: Every washing machine is unique, so it’s crucial to refer to the manual for customized cleaning guidance. 4. Add a cup of vinegar or bleach (or both) to the empty wash basin. Transition: Now, let’s prepare a powerful cleaning solution by adding vinegar or bleach to the wash basin. 5. Run the hottest cycle to disinfect and clean the interior. Transition: Activate the hottest cycle to ensure thorough disinfection and cleaning of the machine’s interior. 6. After the cycle, wipe down all surfaces with a damp cloth. Transition: Once the cycle completes, grab a damp cloth to wipe down all surfaces, eliminating any remaining residue. 7. Leave the door open for thorough airing. Transition: Allow the machine to breathe by leaving the door open, promoting thorough airing and preventing potential odors. What You’ll Need: – Washing machine – Bleach – Baking soda – Vinegar – Old toothbrush or scrubbing brush – Sponge – Towel Additional Tips: – For front-loading machines, regularly clean the door gasket and seal.** Transition: Front-loading machines require extra attention; make it a habit to clean the door gasket and seal regularly. – Run an empty hot water load with vinegar once a month to remove detergent buildup.** Transition: Monthly maintenance is crucial; run an empty hot water load with vinegar to eliminate detergent buildup. – Deep clean with hot water and two cups of vinegar annually to remove mineral deposits. Transition: Annually, perform a deep clean using hot water and vinegar to tackle stubborn mineral deposits and ensure optimal performance. Conclusion: Regularly cleaning your washing machine is essential for its efficient operation and longevity. These straightforward steps require basic supplies and minimal effort, ensuring your machine stays in top shape without the need for costly products. Whether you’re a new homeowner or have had the same washer for years, proper maintenance is a must.
How to Start Cleaning a Bathroom from Scratch
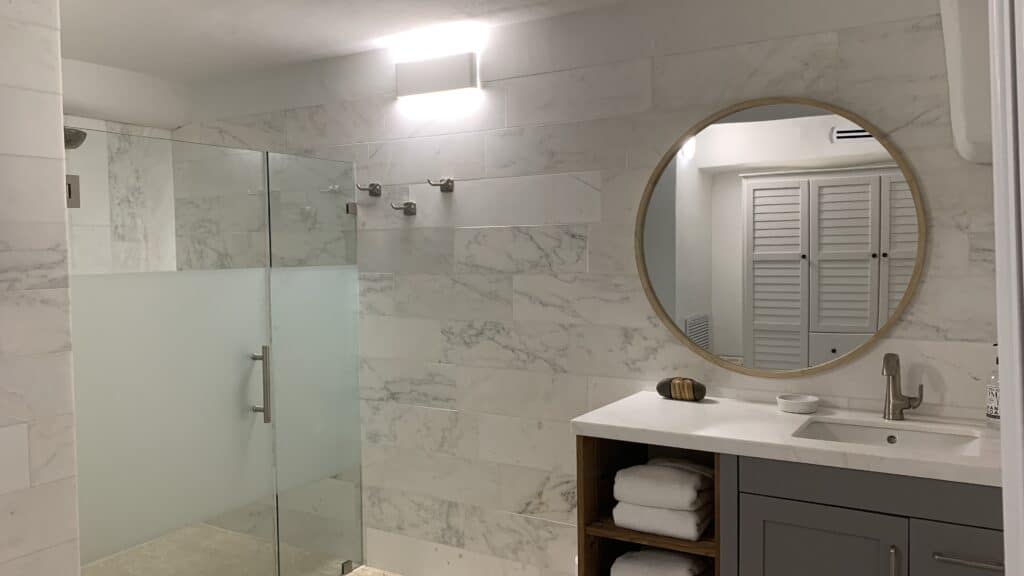
How to Start Cleaning a Bathroom from Scratch Starting a deep cleaning session in your bathroom can be a daunting task, but with the right approach and a bit of strategy, you can transform it from a dirty mess to a sparkling oasis. Here’s a step-by-step guide on how to start cleaning a bathroom from scratch: Gather Your Cleaning Supplies The first step in cleaning a bathroom from scratch is to gather all the necessary cleaning supplies. You’ll need bathroom-specific cleaning products such as toilet bowl cleaner, tile and grout cleaner, glass cleaner, disinfectant, and brushes or scrubbers. Don’t forget to grab a pair of rubber gloves, microfiber cloths, and a mop or a mop and bucket combo. Remove Clutter and Items Before you begin cleaning, clear out the bathroom of any unnecessary clutter and items. Take out rugs, mats, shower curtains, toiletries, and decorative objects. This step not only makes cleaning easier but also ensures that every surface gets the attention it needs. Dust and Sweep Start by dusting and sweeping the bathroom to remove loose dirt, dust, and hair. Use a microfiber cloth or a duster to wipe down light fixtures, vents, and any other surfaces where dust may have accumulated. Sweep the floor to get rid of any larger debris. Tackle the Toilet The toilet is often the dirtiest part of the bathroom, so it’s a good place to start. Apply toilet bowl cleaner inside the bowl and let it sit while you clean the rest of the bathroom. Use a toilet brush to scrub the inside of the bowl thoroughly. Don’t forget to clean the exterior of the toilet, including the flush handle. Clean the Shower and Tub Next, move on to the shower and tub area. Apply a suitable cleaner to tiles, grout, and the tub surface. Allow it to sit for a few minutes to break down soap scum and grime. Use a scrub brush or a scrubbing pad to clean the surfaces thoroughly. Rinse the area with water and wipe it dry with a clean cloth to prevent water spots. Shine the Sink and Countertop Clean the sink and countertop using an appropriate cleaner. Pay attention to faucets, handles, and any crevices where dirt can accumulate. Scrub the sink and wipe down the countertop until they are spotless. If you have a mirror above the sink, clean it with glass cleaner to remove any smudges. Address the Floors Depending on your bathroom flooring type, clean it accordingly. For tile, use a tile and grout cleaner to remove stains and grime. For linoleum or vinyl flooring, use a mild floor cleaner. Scrub the floor with a mop or a scrub brush and be sure to get into corners and along baseboards. Rinse the floor with clean water and let it dry. Finish with Disinfecting and Reassembling Once all surfaces are clean and dry, disinfect commonly touched areas like door handles, light switches, and faucet handles. Then, reassemble your bathroom by placing rugs, mats, shower curtains, and toiletries back in their respective places. Your bathroom should now be fresh, clean, and ready to use. In conclusion, cleaning a bathroom from scratch may seem like a daunting task, but breaking it down into these manageable steps can make the process smoother and more efficient. By gathering the right cleaning supplies, removing clutter, and following a systematic approach, you can achieve a sparkling clean bathroom that you’ll be proud of. So, roll up your sleeves and get started on transforming your bathroom into a pristine oasis of hygiene and comfort.
House Cleaning: 10 Hilarious Hacks to Save Time and Sanity

Discover 10 humorous cleaning hacks to tackle household chores efficiently and with a smile. From sock slippers to lemon magic, these hacks make cleaning a creative adventure.